

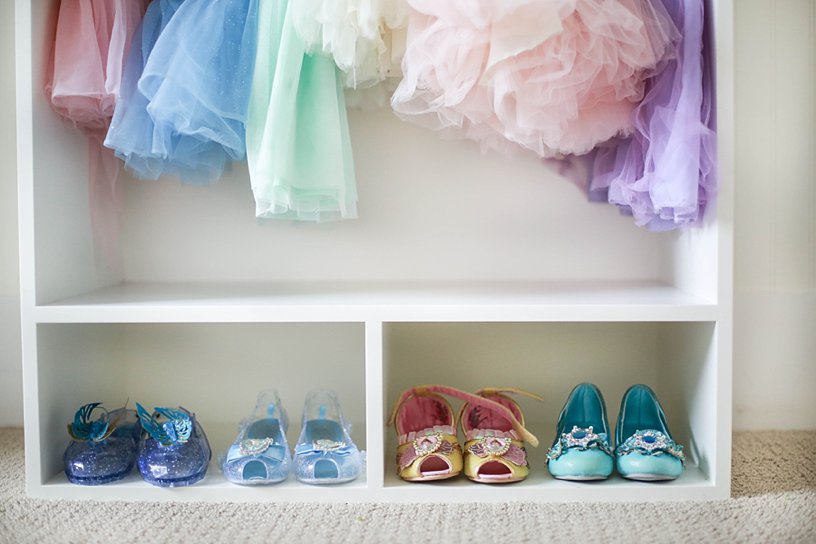
 |Sequin Hangers and HERE | Tutu Dresses and HERE | Dress-up Shoes and HERE and HERE |
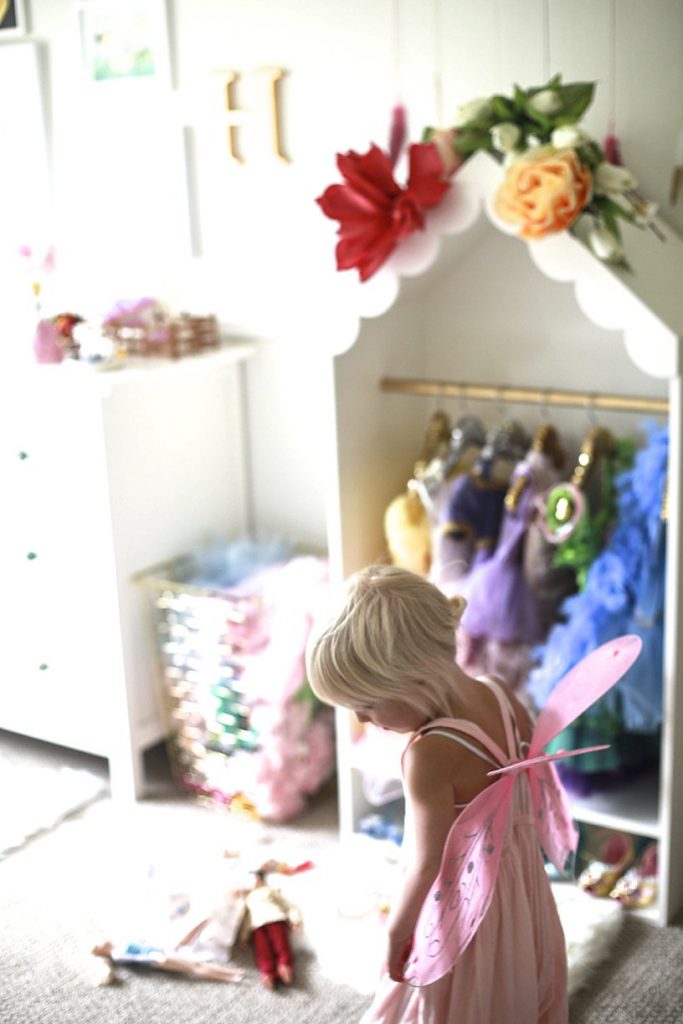
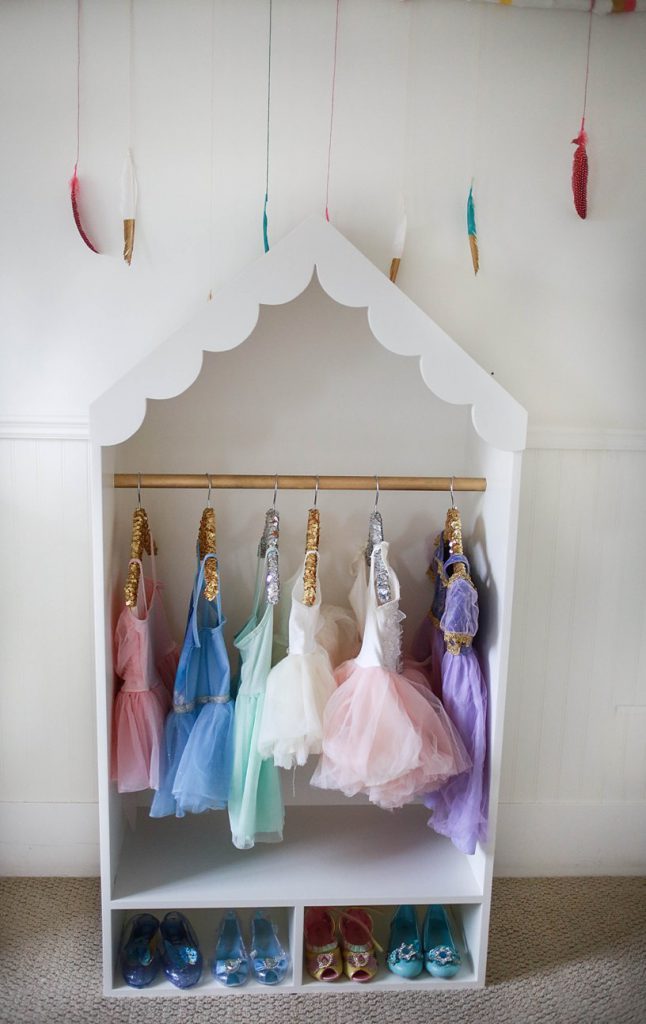
I’ve posted a few photos on IG of the dress up closet Steve made for Harlan, and every time I do I get lots of questions about it – so I’m finally getting around to posting all the details even the exact measurements and before photos, so that if you have a handy husband or Dad or someone else you can convince to make this, keep reading !
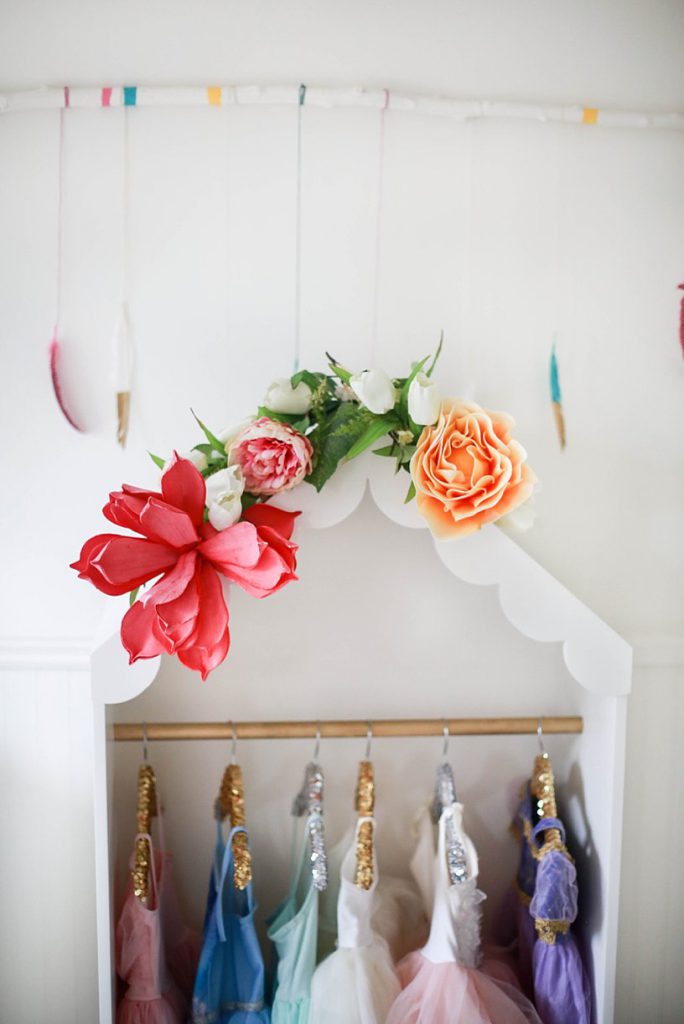
Harlan was going through the stage where she would dress up a 100x a day and most of it included Disney dresses and tutu’s . I had them stored in a basket in her room, but wanted something to keep them a little tidier and make it easier to keep organized, etc. I had some random inspirations ( because this is how my brain works ) – drew it up with Steve and he took it from there! I actually had a moment where I thought ” A-ha! I am gonna sell these!! Steve, let’s start making some, we’re gonna be rich!” – And for awhile there I actually think I had Steve convinced that it was a good idea. Until we started tallying up the cost of supplies, his time, etc and realized it kinda went along the lines of ” ain’t got time for that.”
Carrying on –
So I’ve asked Steve all the details of the build and here it is-
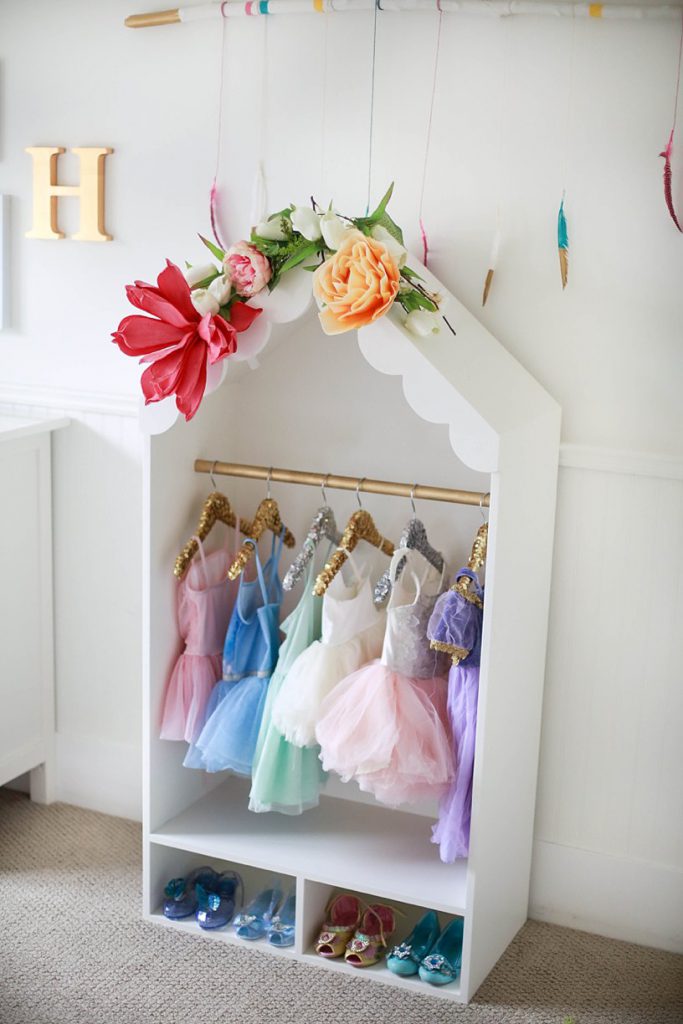
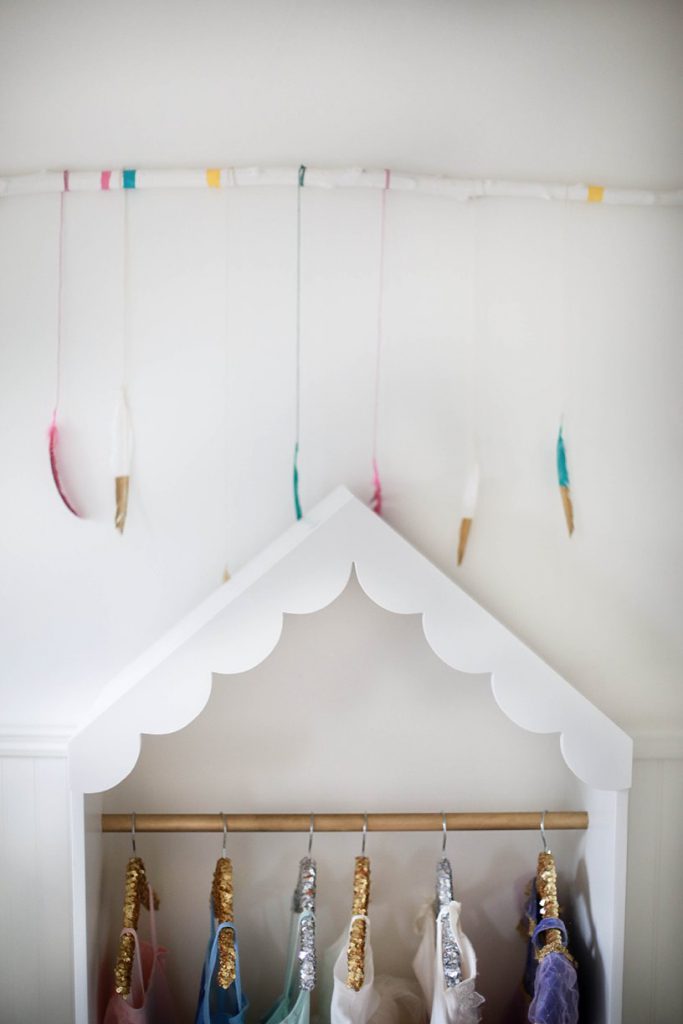
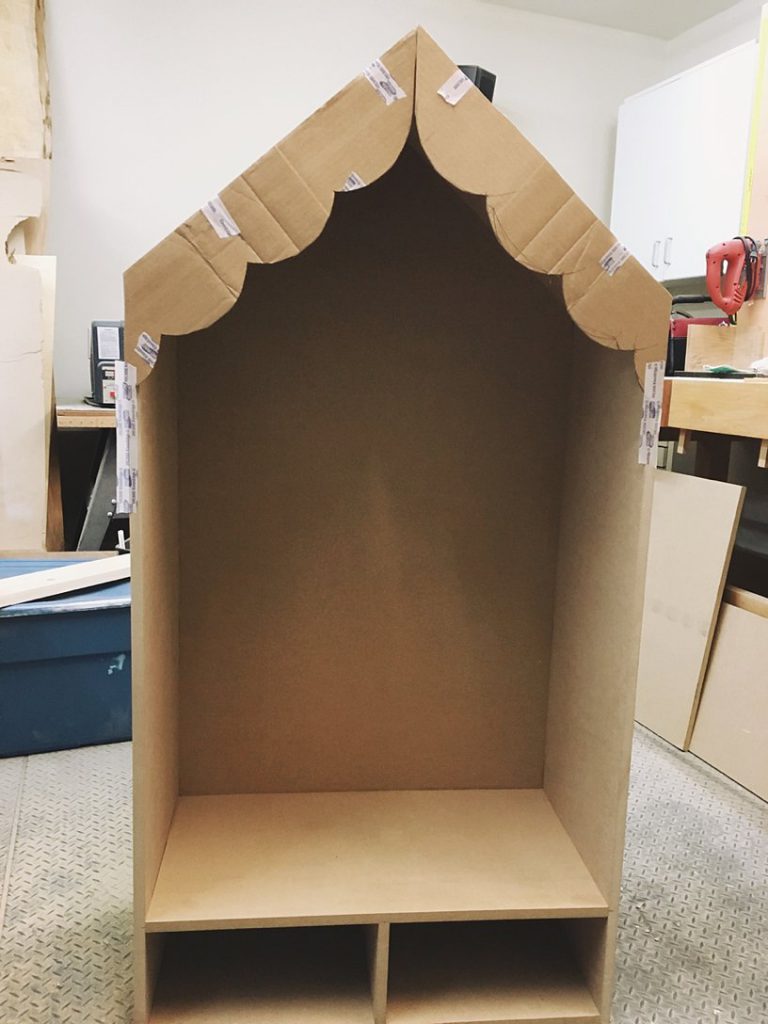
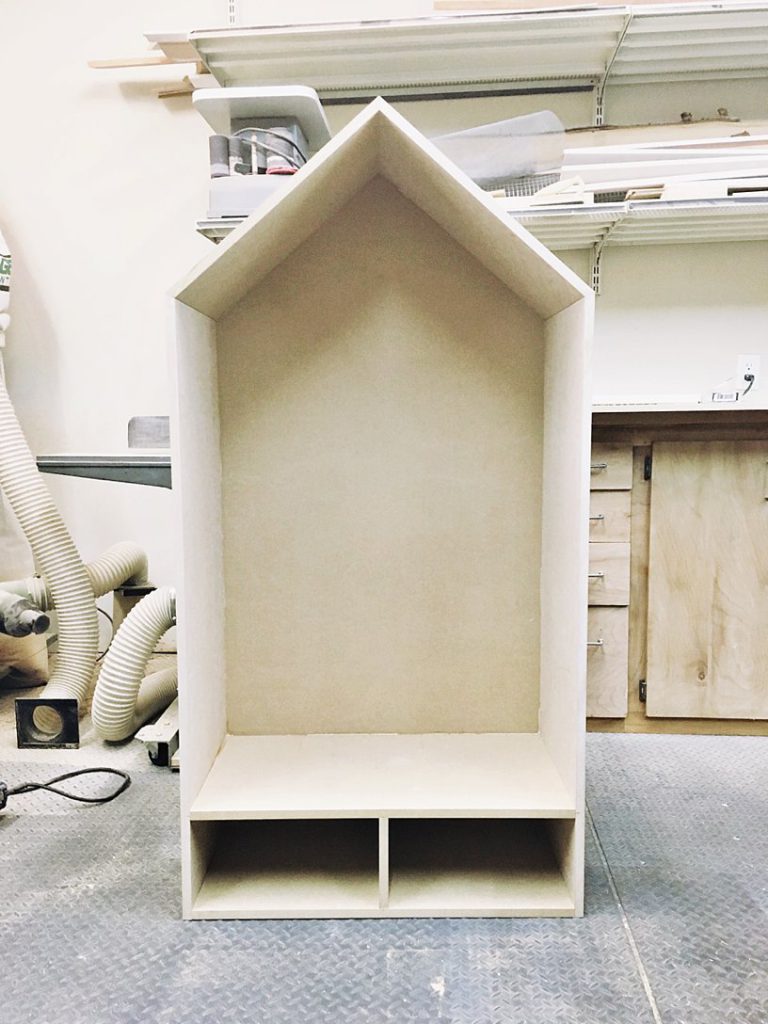
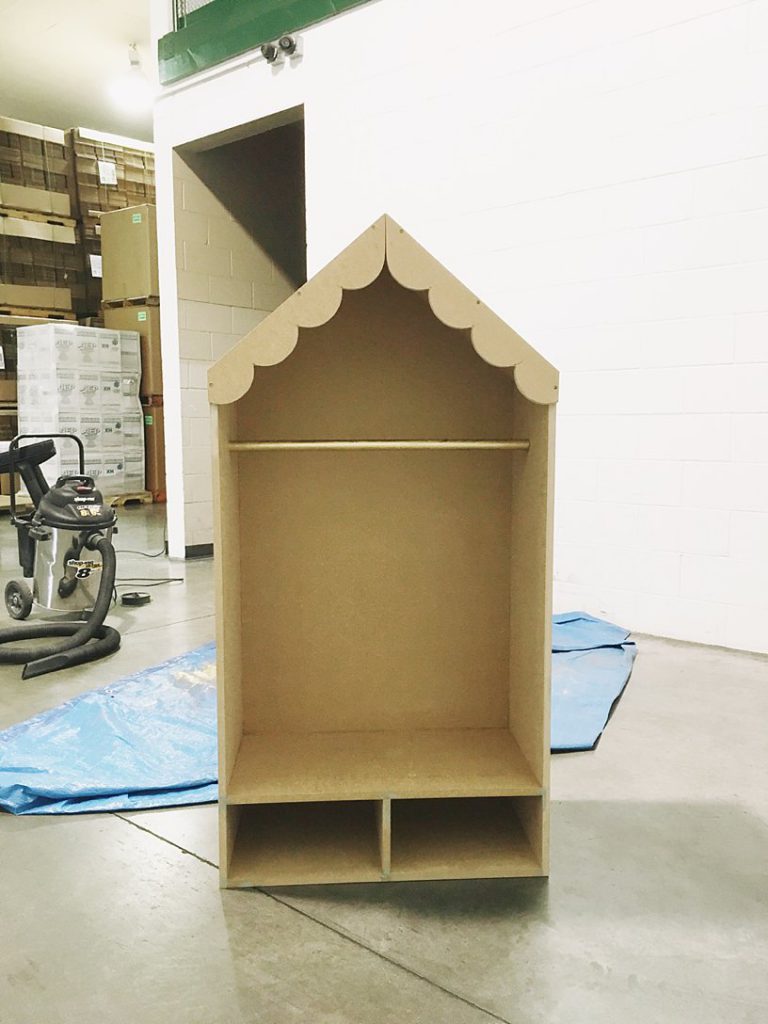
He used MDF ( particle board ) for the whole thing. Used cardboard to get the scalloped edges just right ( See picture below ) Then used the particle board and just a jig saw, to cut it. Every joint was pin-nailed and glued. Rod is made from 1 inch dowell.
One thing that cost us a little more, but honestly made a HUGE difference in the quality of the look was getting a professional company to spray it white ( cloud white by benjamin moore ) We used imperial finishing in Abbotsford – they are AMAZING and highly recommend.
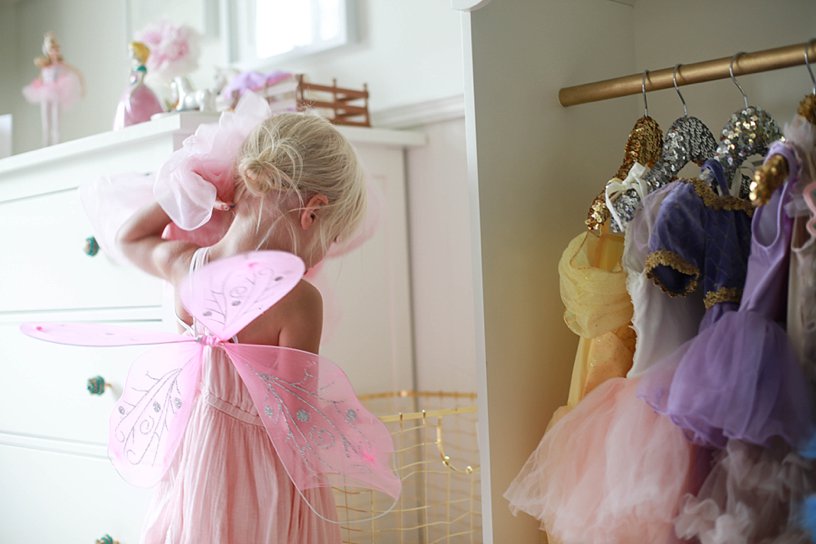
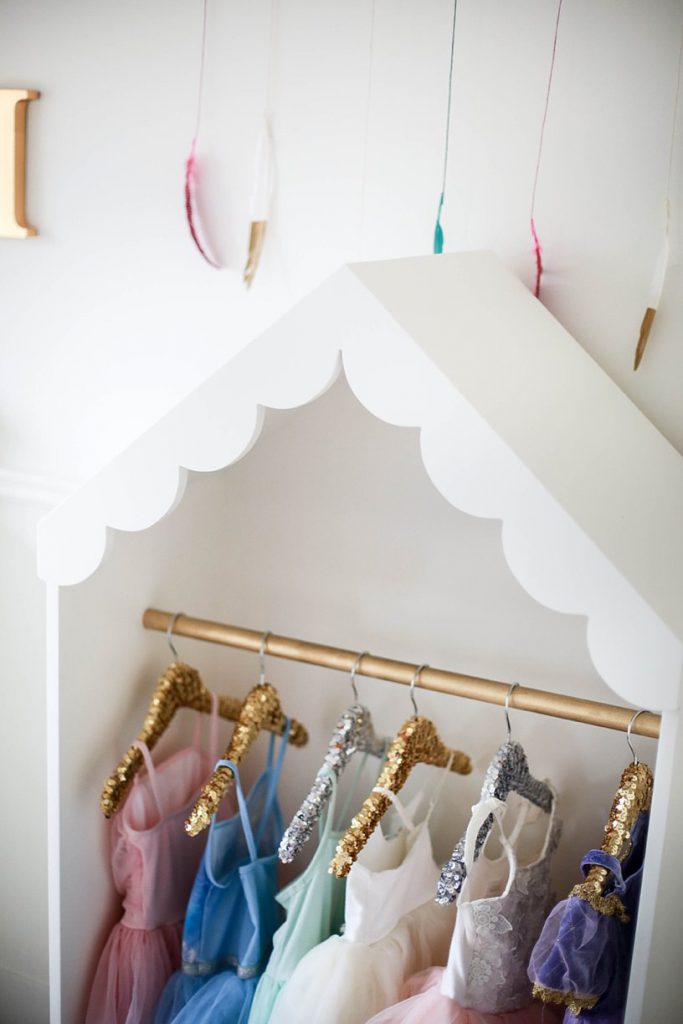
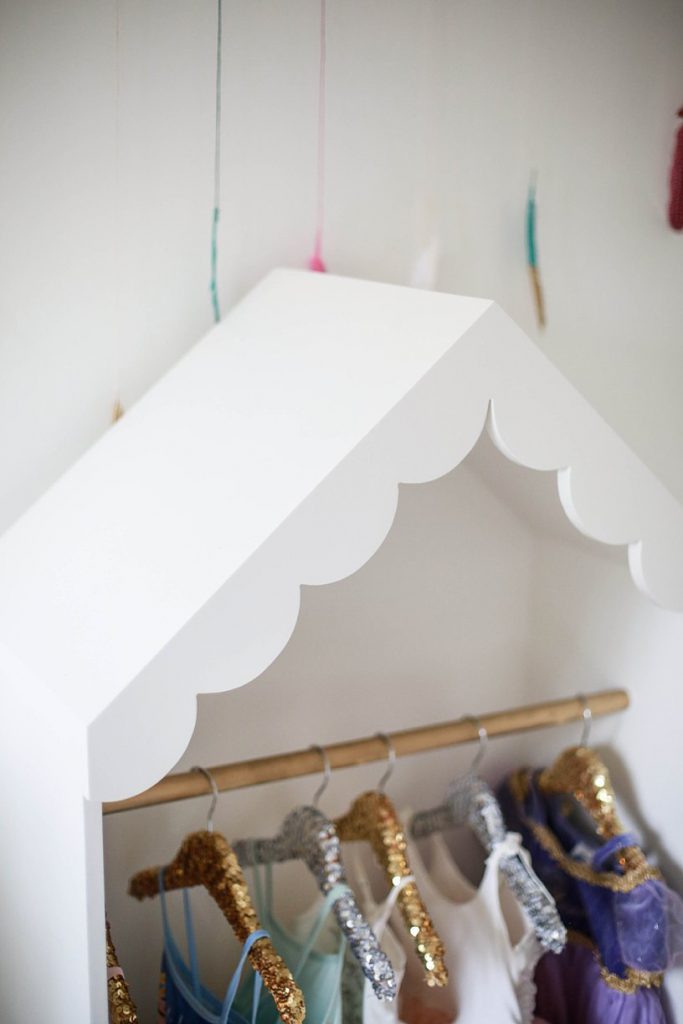
We painted the rod gold and I’m so happy with how it turned out.
Next – I bought some wooden hangers and stretch glitter ribbon and literally hot glued it around the hanger. Now this worked great, but honestly- you guys know I always shoot ya straight ..I ran out of ribbon ( It takes a lot more than you think ) and It kinda goes along the lines of ” Why buy it for $7 when you can make it yourself for $92 worth of craft supplies ”
So instead of dragging 5 kids to the fabric store I bought a few more online HERE
So low and behold last night I checked to see of Steve still had the original drawing of the measurements, etc that he used to build it – and he did! I’ve edited this sketchy phone pic the best I can, I was gonna make it a little more flawless and redo it white and bright, but real life for the win today, folks.

 Our baby girl has loved this SO much and I know she loves it even more because her Daddy made it. I hope you guys can recreate this too for your littles and if you have any questions feel free to ask. And like always if you post it please tag me or send it to me so I can see it ! Seeing things you all make that I’ve blogged about makes all the work worth it.
XO, Michele